
The DIY Home Staging Guide
So, the time has come for your home to feature in a photoshoot!
I’ve designed this guide for getting everything ready to go to ensure that your home looks as stunning as possible.
Following these simple steps to stage your home can add a huge amount of value to your photos, with the added bonus of leaving it spick and span (at least until the kids come home).
A little preparation for your shoot can go a long way.
Step one: de-clutter
In preparation for the shoot, tidy all surfaces up by removing any clutter (magazines, papers, knick- knacks). You don’t need to leave every surface spotless, but try and tuck away any unsightly collections of clutter.
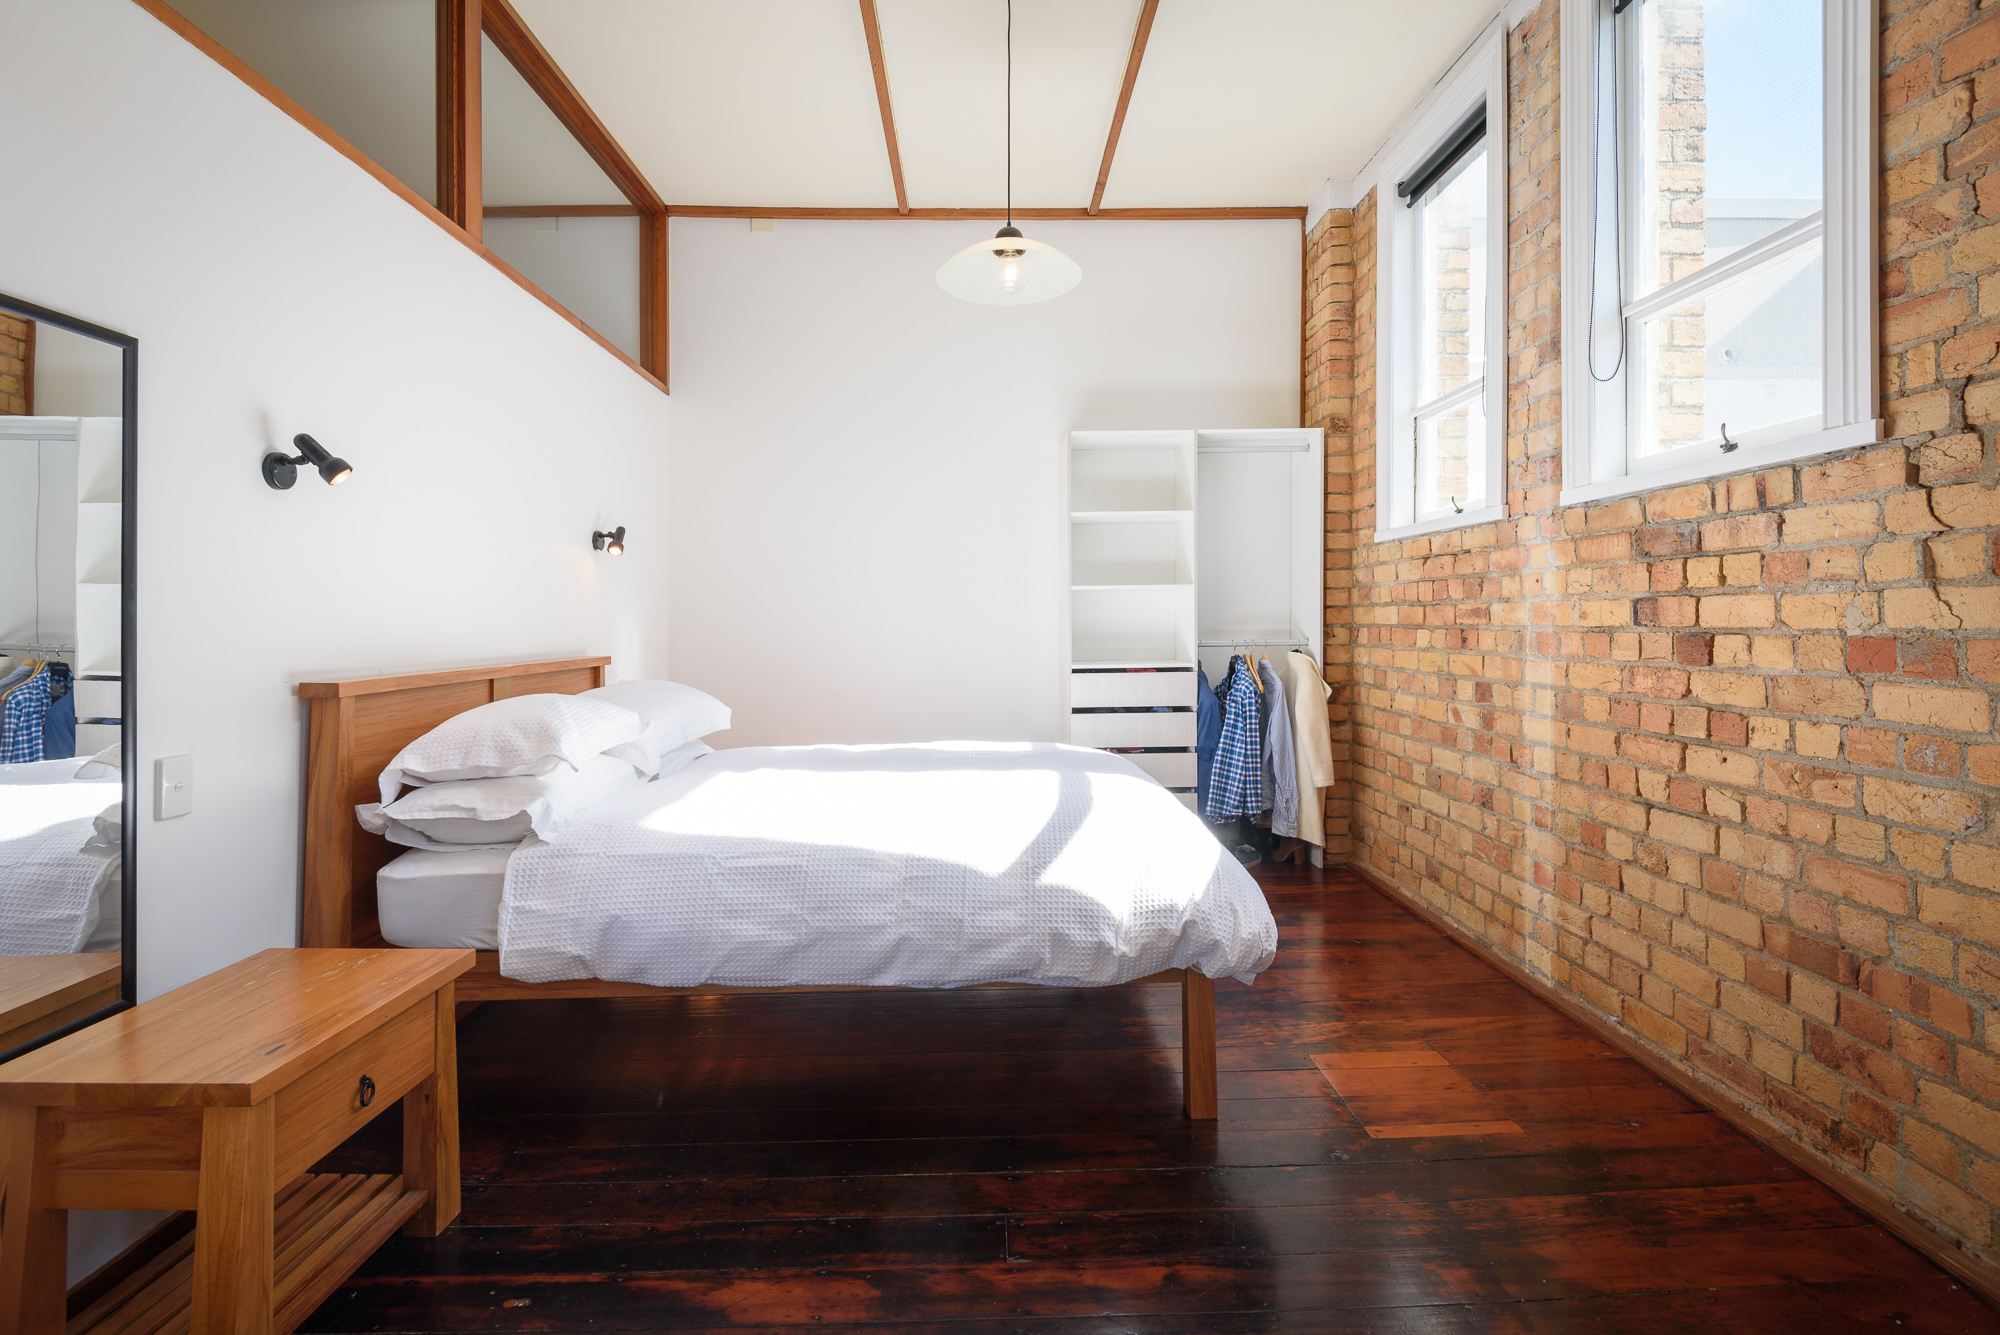
For the bathrooms, make sure that you remove your shampoo and soap bottles from the shower, and take out your toothbrush. For the bedrooms, make sure that all laundry is put away and the beds are made and smoothed out.
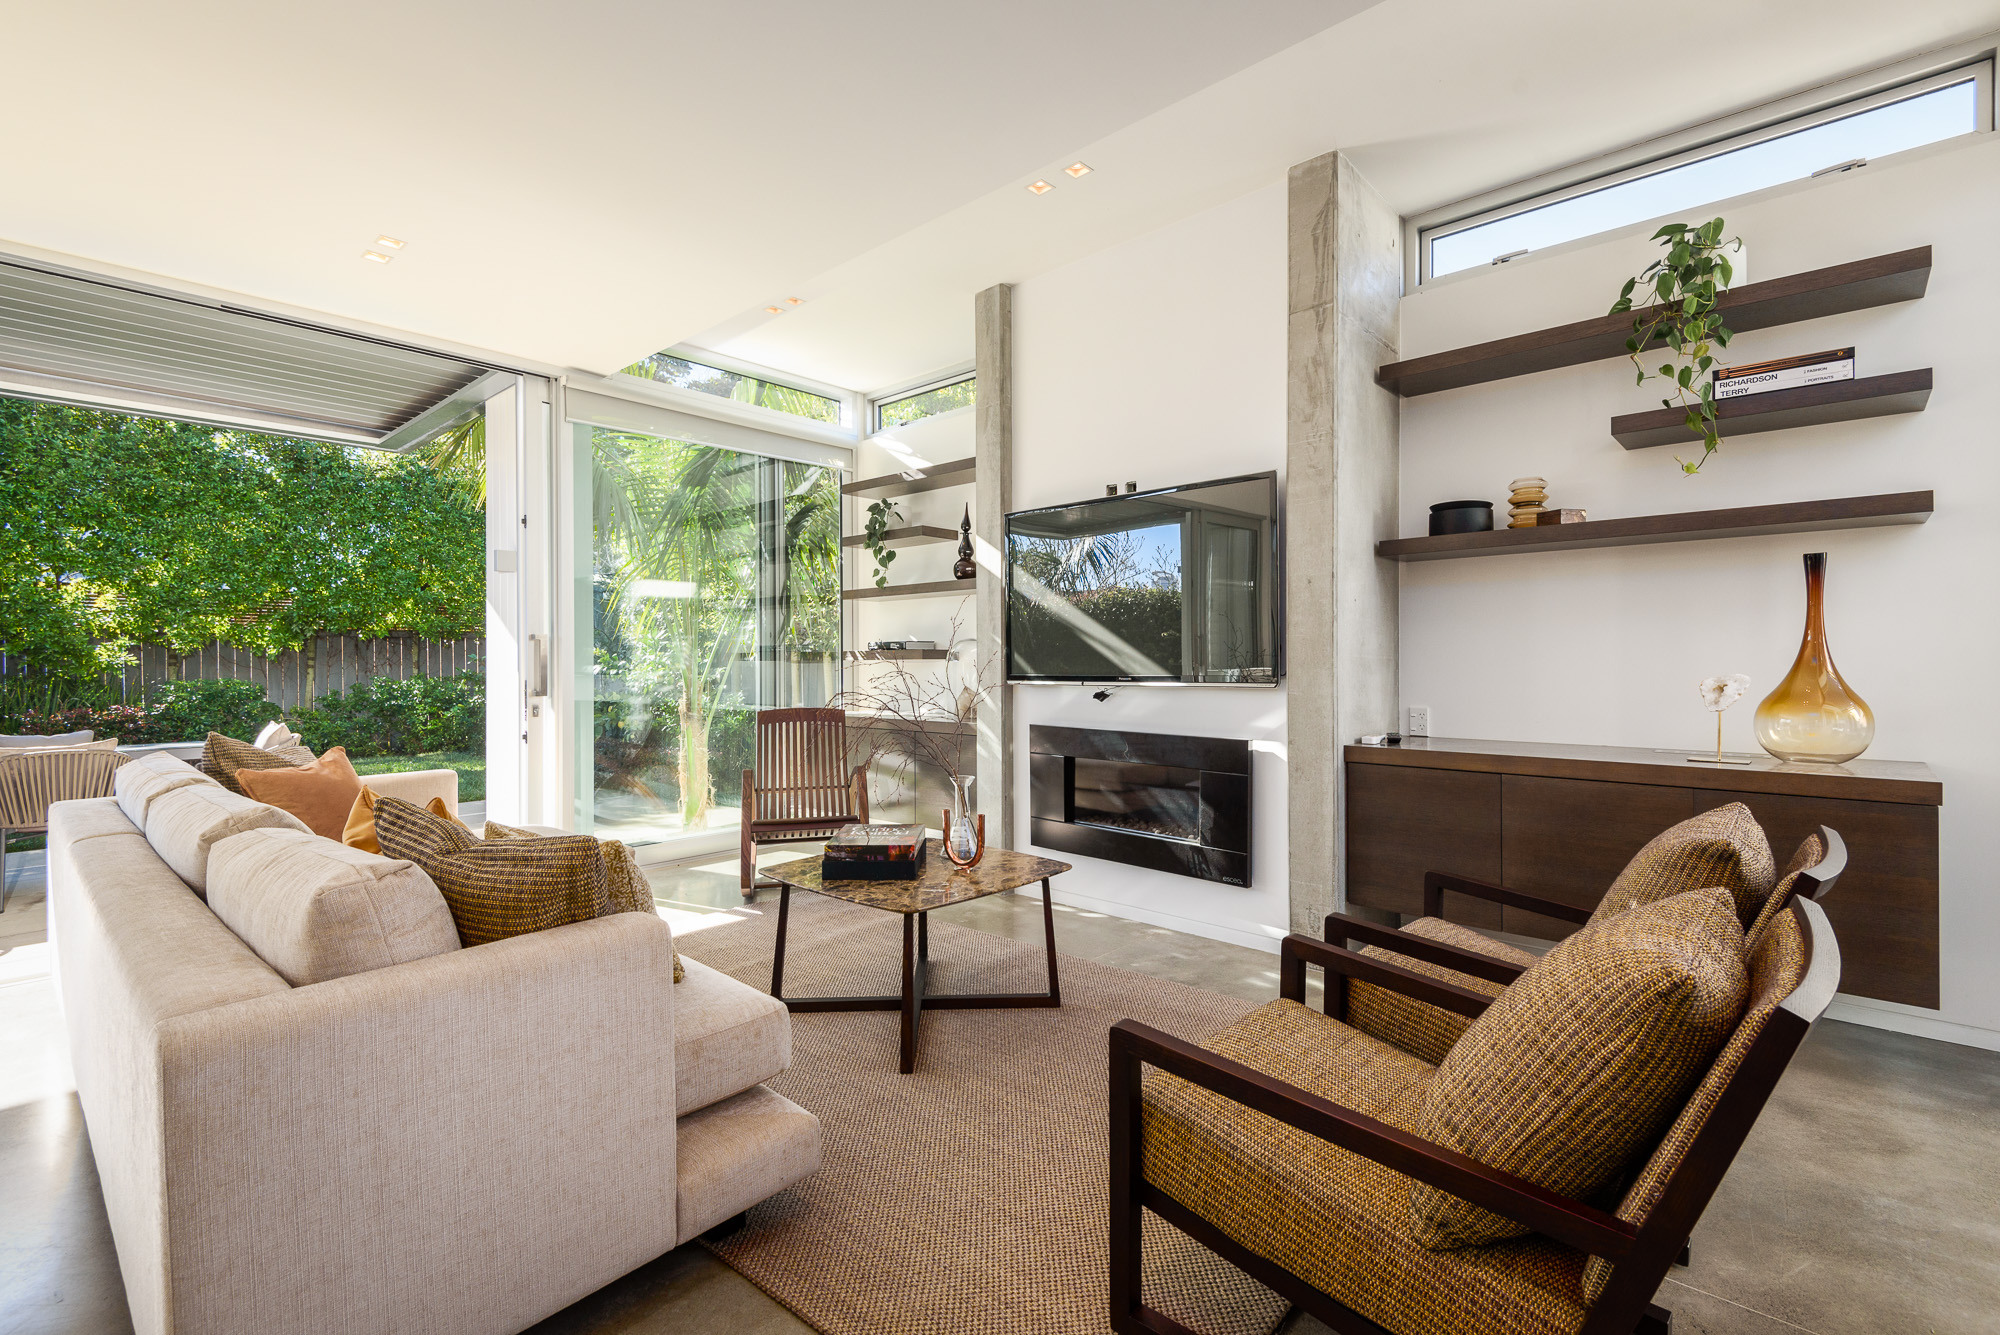
Having one or two items on display on desks and tables is ideal for photos - place an open book on the coffee table, or a bowl of fruit on the kitchen island - anything that adds a splash of colour to the scene.
It always pays to give bedrooms the hotel treatment, too - consider placing some folded towels on the corner of the beds, and make sure the pillows are sitting nicely, and so on.
Step two: de-personalise
These photos are going to show off your magnificent home to the world! But with that in mind, it pays to remove any personal items like family photos, drawings, and clothing, and leave just the essentials.

Step three: check your mirrors and showers
If you’re having your bathrooms photographed as a part of the shoot, have a quick look to make sure that there are no smudges on the mirrors, or anything like that. Along with this, try not to use the shower less than an hour before the shoot, as the water droplets will still be there in the photos. If you still need to, just give it a quick wipe down with a cloth afterwards.

Step Four: the odds and ends
In addition to the above points, here are a couple of other quick things to check:
Check that all lights inside are working, and replace any broken bulbs
If the garden/lawn is going to be featured, check that it doesn’t need mowing
If possible, hide your rubbish and recycling bins around the side of the house.

If you’ve got a 10/10 lawn, why not show it off?
And there we have it!
Hopefully this guide helps you to get the most out of your photoshoot.
Still have some questions about the do’s and don’t’s of home staging? Let us know in the comments below, or drop us a line.
Looking for some more staging inspiration?